
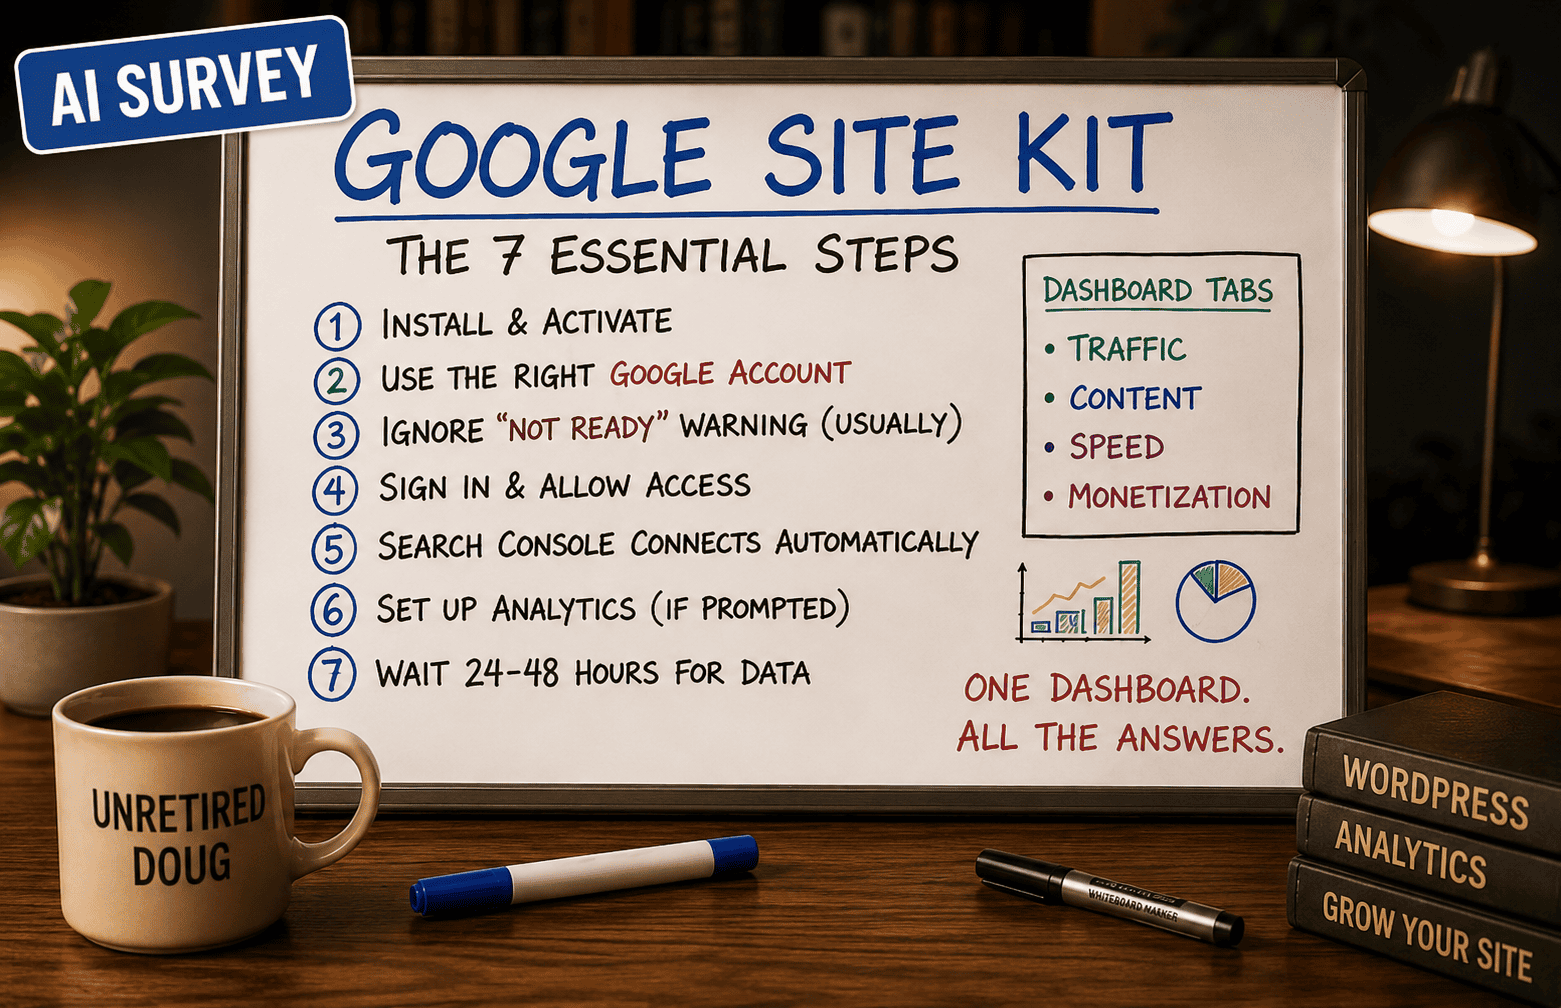
What it is: The official WordPress plugin from Google that pulls data from Analytics, Search Console, AdSense, and PageSpeed Insights into one dashboard — so you stop logging into four separate tools to understand how your site is doing.
New to any of those four? See this page for background on what each one does before diving in.
Requirements: WordPress 5.2+ and PHP 7.4+. If activation fails on an older site, this is usually why.
Getting Started (the essential steps)
- Install and activate. WordPress dashboard → Plugins → search “Site Kit by Google” → Install Now → Activate. Free, about 30 seconds.
- Use the right Google account. When setup prompts you to sign in, use the same Google account that already owns your Analytics and Search Console properties. A different email means Site Kit can’t find your existing data and creates duplicate or broken properties instead. Get this right the first time — mismatches are a pain to unwind later.
- Ignore the “not ready” warning (usually). If you see “Your site may not be ready for Site Kit,” it’s almost always just detecting a caching plugin. Safe to proceed, though disabling caching during setup avoids edge-case hiccups. This same caching interference is also the most common cause of a “Site verification failed” error — a minification or caching plugin stripping out Site Kit’s verification tag. If verification fails, temporarily disable caching and retry.
- Sign in and allow access. Click Sign In with Google → choose your account → click Allow to let Site Kit read your Analytics/Search Console data.
- Search Console connects automatically. It’s added during initial setup with no extra steps. Everything else — AdSense, full Analytics, PageSpeed, Tag Manager, Ads — gets added later from Settings → Connect more services.
- Set up Analytics (if prompted). Choose an existing account or create one, then answer the “what’s your site’s main goal” question — this tailors which metrics Site Kit surfaces on your dashboard by default.
- Wait 24–48 hours for data. You’ll see a “gathering data” message until then. This is normal, not broken — a big source of new-user frustration is just not knowing this delay exists.
Reading the Dashboard
Data is organized into four tabs: Traffic (visitors, sources), Content (top-performing pages), Speed (load times), Monetization (AdSense earnings). Default view is the last 28 days, adjustable to 7/14/90 via the calendar dropdown. There’s also a URL-specific search box if you want to isolate one page’s performance.
Key Metrics widgets (up to 8, minimum 2) sit at the top and can be auto-suggested based on your site’s goal or hand-picked. Click any metric card to jump into the full Google tool for deeper detail — Site Kit deliberately stays surface-level and sends you elsewhere for granular work.
Adding More Services
- Tag Manager — set up from Settings with no code editing required
- Google Ads — enter your Ads Tag ID (starts with “AW-”) for conversion tracking; requires a connected Analytics account
- AdSense — connecting it in Site Kit does not get you approved. AdSense approval is a separate Google review process that can take days to weeks — connect it once you’re already approved, or apply first if you haven’t
Multi-User Access
By default, only Administrators see the Site Kit dashboard. To let other WordPress roles (Editor, etc.) view it, go to Settings → enable additional roles. Each connected user can link their own Google account.
Privacy / Consent Mode
If the site gets EU traffic, Site Kit has a built-in Consent Mode toggle that adjusts how Analytics and Ads tags fire based on a visitor’s cookie consent — worth turning on rather than hand-coding a GDPR workaround.
If You Manage Multiple Sites
Two things worth knowing:
- On WordPress Multisite networks, Site Kit typically needs to be network-activated and then connected per-subsite — a common point of confusion
- If you’re an agency or freelancer, installing Site Kit on every client site gives you a standardized dashboard for fast health checks before calls, and “how to set up Site Kit” makes solid tutorial content for a WordPress-using audience
Where It Falls Short
Site Kit is a summary layer, not a full analytics platform: no custom segments, no advanced filtering, no cross-domain tracking, no funnel analysis, and no option to self-host the tracking script. When you outgrow it, MonsterInsights or ExactMetrics are the usual next step for WordPress users who want deeper reporting without leaving wp-admin.
This post is part of the AI Survey series, where I take a hands-on look at different AI tools and how they actually perform for solopreneurs like me. Browse the full series →
Quick FAQ
- Slows down my site? Minimal — it loads standard Google tracking scripts, same as if you’d added them manually.
- No existing Google accounts? Site Kit can create new Analytics/Search Console properties during setup, though setting them up manually first gives you a better handle on each tool.
- Uninstalling? Removes the WordPress dashboard view only — your data stays intact in Analytics and Search Console.